AqTemPi 🐠
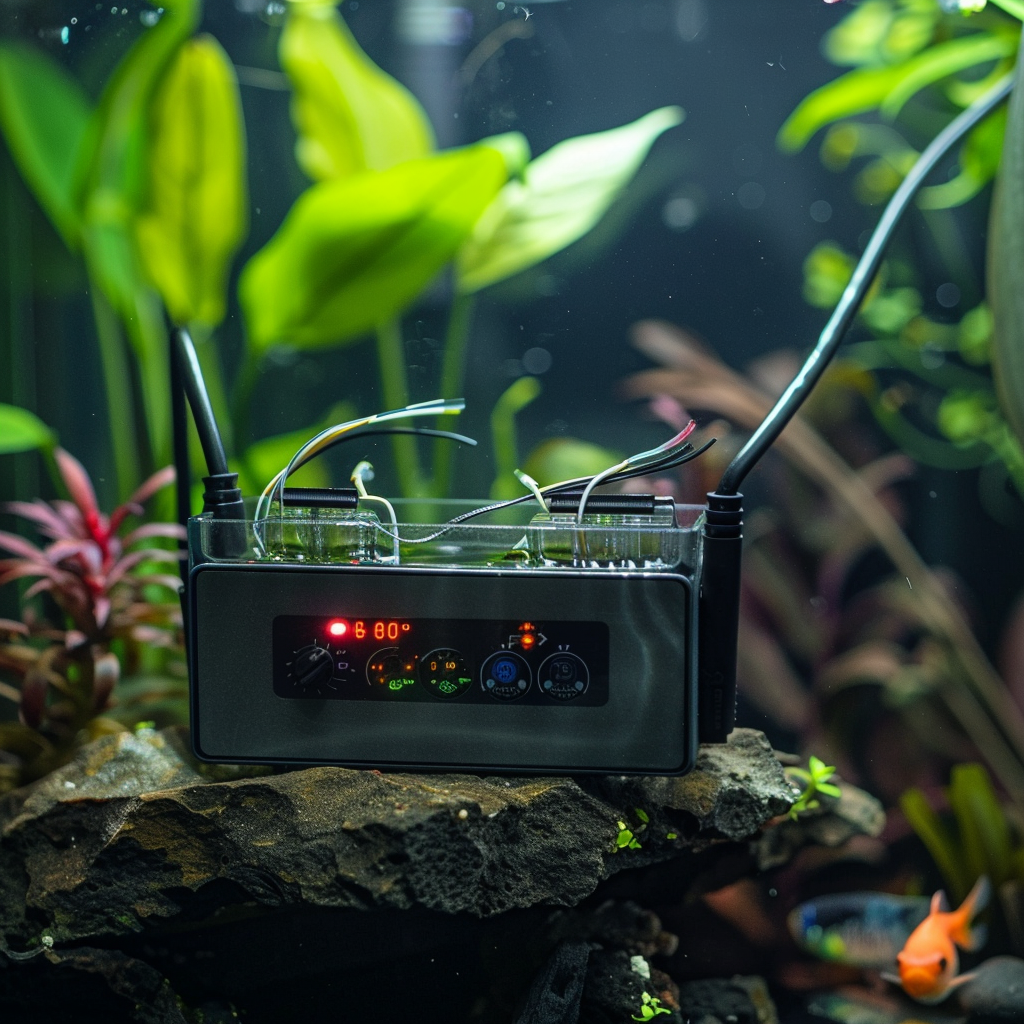
A simple walkthrough of a Raspberry Pi zero WH based aquatic temperature monitor for fish tanks.

A walkthrough of the GitHub project below:
Hi all, this isn't really related to security or privacy, but just a fun project that I built to solve a simple problem.
Problem: We needed a simple temperature detector to monitor and alert if there were any sudden drops in temperature in a Paludarium (fish tank with terrestrial elements). There were numerous times when the heaters tripped the breaker and temperatures dropped in winter, so I wanted to be alerted if this happened.
There are many different ways you could accomplish the alerting or monitoring of this data, I chose webhooks and publishing data to ThingSpeak (an IoT platform from MathWorks).
SETUP INSTRUCTIONS
Below you will find setup instructions for the hardware, many thanks to this post: https://www.submergedcottage.co.uk/blog/network-aquarium-temperature-monitoring-with-raspberry-pi/ as the inspiration for this project.
Equipment needed:
- 2 pack DS18B20 temp probes, $8.99 USD at time of writing
- 1 (or 2) raspberry pi zero WH, $34.90 USD at the time of writing
- 1 (or 2) microSD cards, $11.86 USD at time of writing
- 1 (or 2) Raspberry pi power supply, $11.39 USD at time of writing
- (OPTIONAL) Micro-usb hub (for connecting keyboard and mouse), $7.94 USD at time of writing
- (OPTIONAL) USB-A keyboard and mouse (up to you)
- (OPTIONAL) Mini HDMI to HDMI converter or cable to boot the raspberry pi into a GUI, $9.99 USD at time of writing
Steps:
- Flash a new copy of raspbian to an adequately sized micro SD Card. I chose a 64 GB card just because they were cheap enough.
- First install the Raspberry Pi imager: https://www.raspberrypi.com/software/
- If you are using a raspberry pi zero WH (as above), choose the appropriate OS version. As of this writing it is a port of Debian Bullseye released 2023-12-05 and make sure it is “Legacy 32-bit”. When you open the imager tool, it should be the first option after you choose your raspberry pi.
- If you aren’t purchasing the OPTIONAL equipment above, you will want to enable SSH and use the pi “headless”. This just means there is no graphical user interface, everything will be through the command line interface (the terminal). If you aren’t comfortable with the terminal just yet, buy the optional equipment above.
- Enabling SSH is really simple! Once step 1 is complete, safely remove the SD card from your host computer (macOS, Linux, or Windows) that you used to flash the SD card. Then navigate to the boot folder and create a file called “ssh” without a file extension.
- Windows: right click in the boot volume’s white space and select New > Text Document. Delete the .txt extension before you hit Enter. If you don’t already see file extensions, click View and enable File name extensions in the menu bar.
- Mac/Linux: open the terminal and navigate to the boot directory of your sd card and type:
touch ssh- Safely remove the sd card from your computer.
- Boot up the raspberry pi headless and then SSH into it. Here is more info if you get hung up.
- SSH into your raspberry pi, git clone this repo:
git clone https://github.com/shalloran/aqtempi.git- and add the script to cron per the README.md
- Further help:
CONFIGURATION
Before running the script, make sure to update the API_KEY variable in the script with your ThingSpeak API key. You can obtain an API key by signing up for a ThingSpeak account and creating a new channel.
Usage
The script will read the temperature from the DS18B20 sensor and send it to ThingSpeak. The temperature value will be displayed in the console.
To run the script manually, use the command python aqtempi.py.
To schedule the script to run periodically, you can use the crontab. Here's an example of how to do that:
- First open cronjob file via:
crontab -e
- Then add these two lines:
* * * * * /path/to/your/script.py
* * * * * (sleep 30; /path/to/your/script.py)
- Optionally you can add one more line to schedule the raspberry pi to restart weekly on Tuesday at noon:
0 12 * * 2 sudo reboot
Please let me know if you have any questions, I hope this helps someone!
This blog © 2024, by Sean Halloran is licensed under CC BY-NC 4.0

